
With the help of Chip we have put together this build on the new Pass-Port from CA Models. You can E-mail me with any questions you might have.
Since I haven't done a build thread before, and there is not a real rush to get these models in the air, I decided to give it a shot.
This is the new Passport EP. Designed by Marcelo Columbo and Chip Hyde to be used to compete in all classes of precision aerobatics.
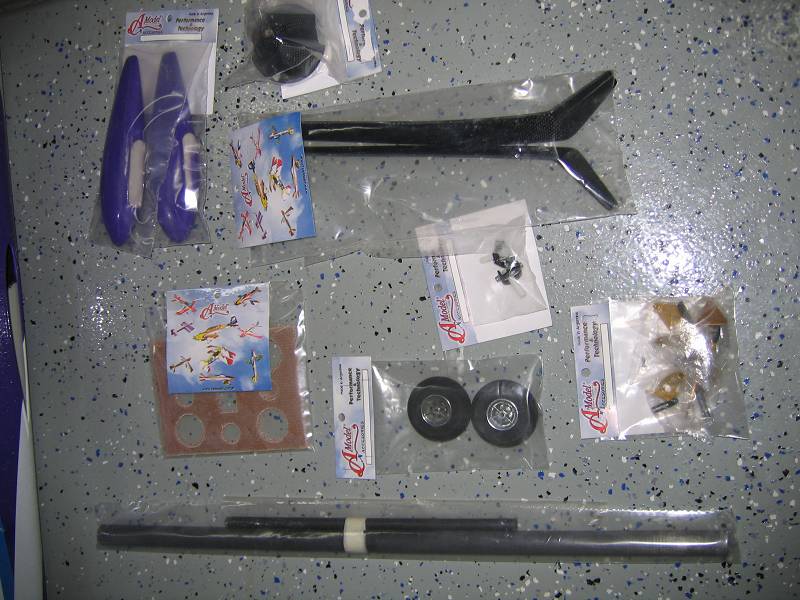
These models are manufactured and sold exclusively through CA Models and their authorized dealers. Since this is the Deluxe ARF version, it comes standard with the following items.
1. CA Models Carbon Gear
2. Carbon Wing Tube/Stab Tube/Anti-Rotation Pin
3. Clear Canopy
4. CA Models Lite Wheels
5. CHP Ball Bearing Horns
6. CA Models Carbon Spinners
7. Incidence Adjuters Wing/ Stab
8. Light Weight Wooden Shipping Boxes
9. Carbon Wheel Pants
10. 2 PC Wing/Stab
11. Carbon/Kevlar/Fiberglass Fuselage
12. 1 PC Foam/Balsa Rudder
13. Nomex Formers/Servo Trays
Optional Extras
1. Split Rudder
2. Removable wing tips/wing tip fins
Any Questions that have to do with Pricing or availibility please send them to Luis at http://www.netboxhobby.com/main.sc first. If he cannot help, then try the factory direct. I am only involved with the design and construction of these models so I do not have a clue when it comes to anything more than that.
This morning I unpacked both of them and I must say I was very pleased with the quality of these models. The CA guys have really stepped up to the plate from what I have seen. I was a little concerned after getting a couple of planes last year that I really had to struggle with to make weight, and in the end didn't. After the Nationals, Marcelo and I had some long conversations about what its going to take to be able to compete with some of the planes coming from Japan and China. Since then they have made a few changes which will enable them to do just that. Most are in the quality of the raw materials. Everything from the epoxy used to lay up the fuselages, to the type of foam for the wings and stabs. In the end, the models from 6 months ago may look identical to these when setting next to one another, but these will be a few ounces lighter as well as stronger.
After I unpacked both planes, I started the hinging process. Each aileron has 4 CA hinges, while the elevators and each rudder half only use 3. The rudder hinges go into the leading edge of each half at a 45 degree angle and then they meet and each side uses the same slot in the rudder post. Be sure to use something about an inch long to wedge between the two halves when you are ready to CA the hinges in place. If not you will more then likely end up with a built up one piece rudder.
Please remember these will be electric powered planes, and if a glo version is what you decide to go with you will need to add at least
one more hinge per surface.
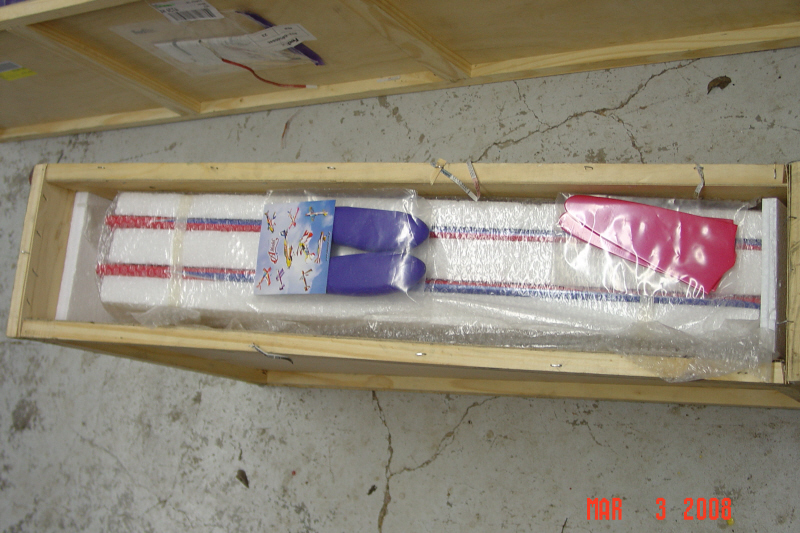
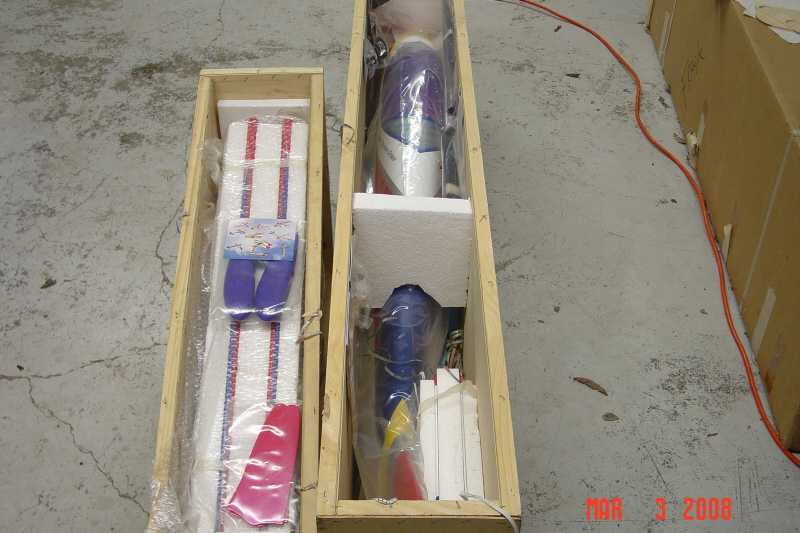
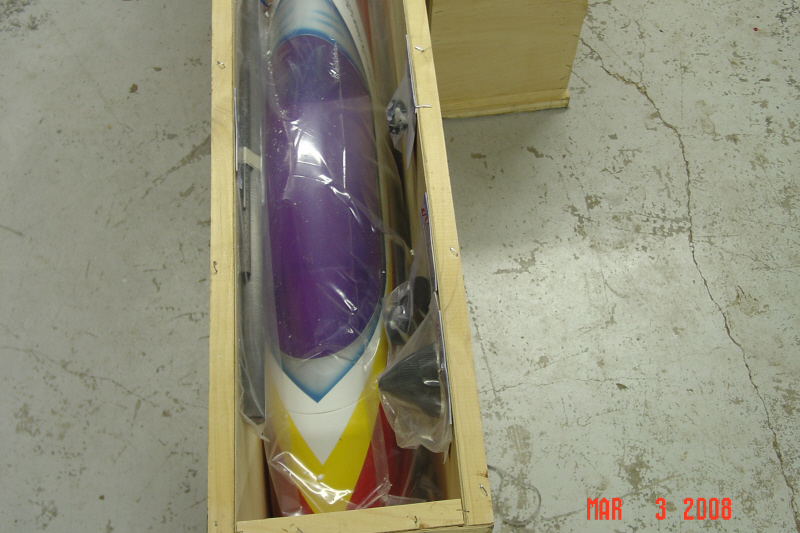
Here is how the plane comes from CA Models

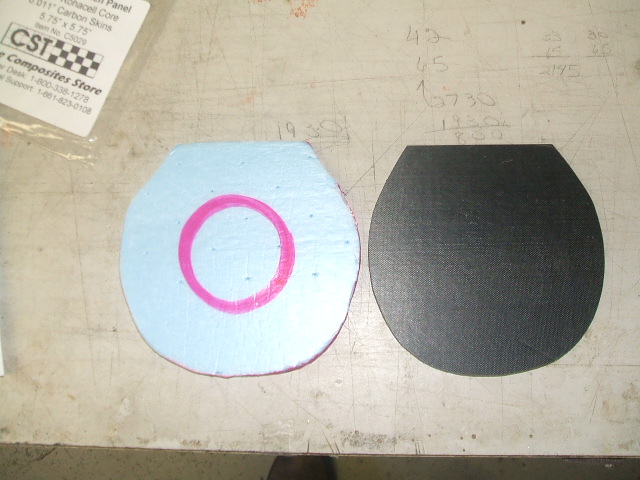
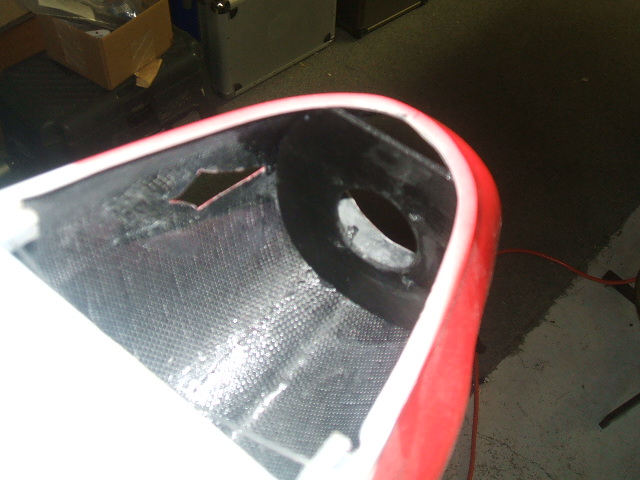
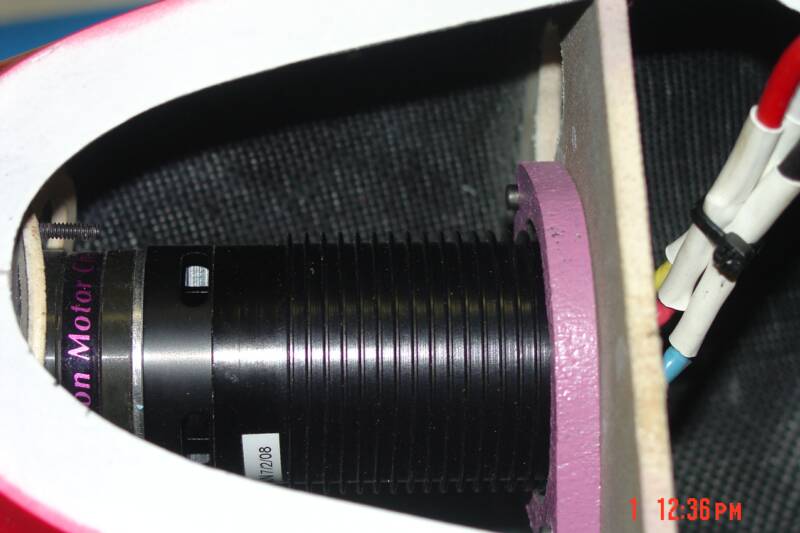
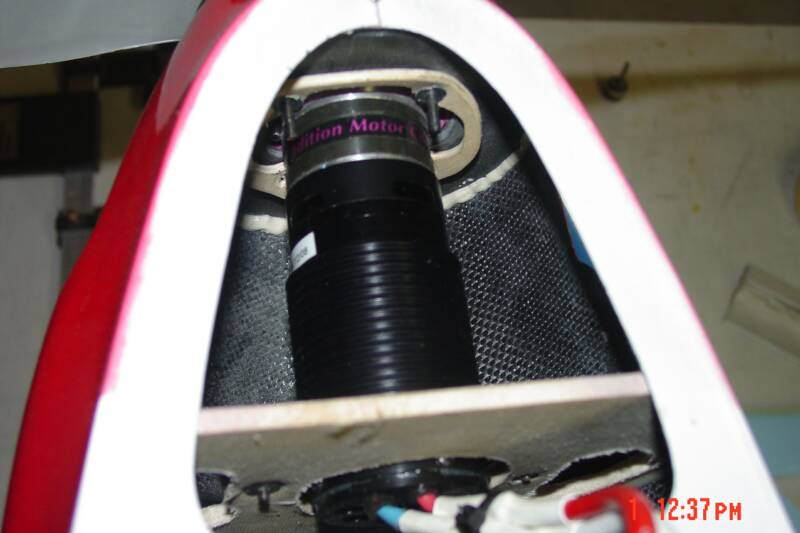
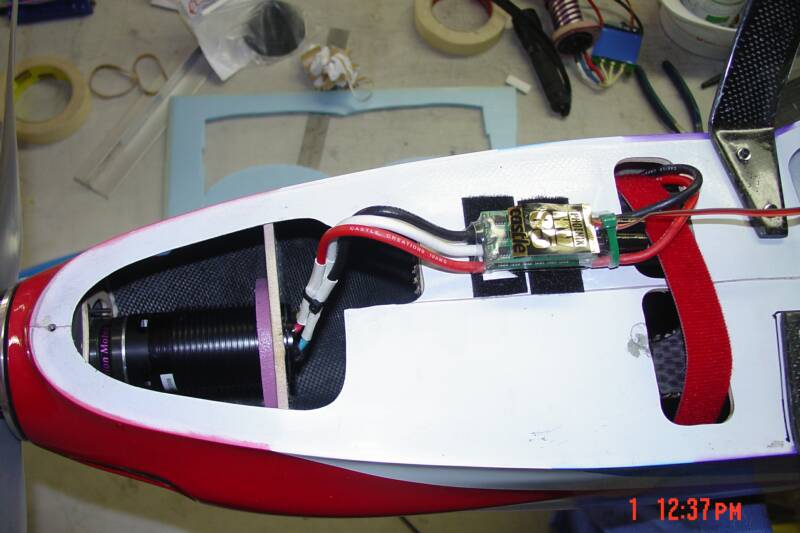
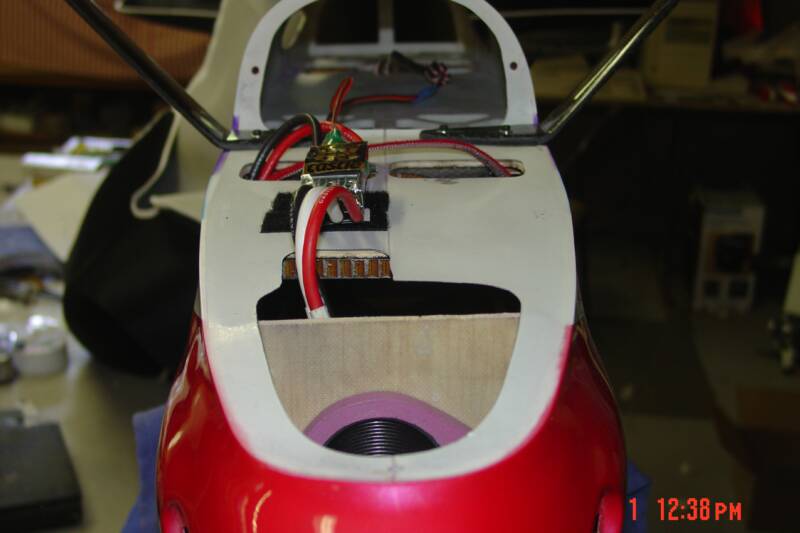
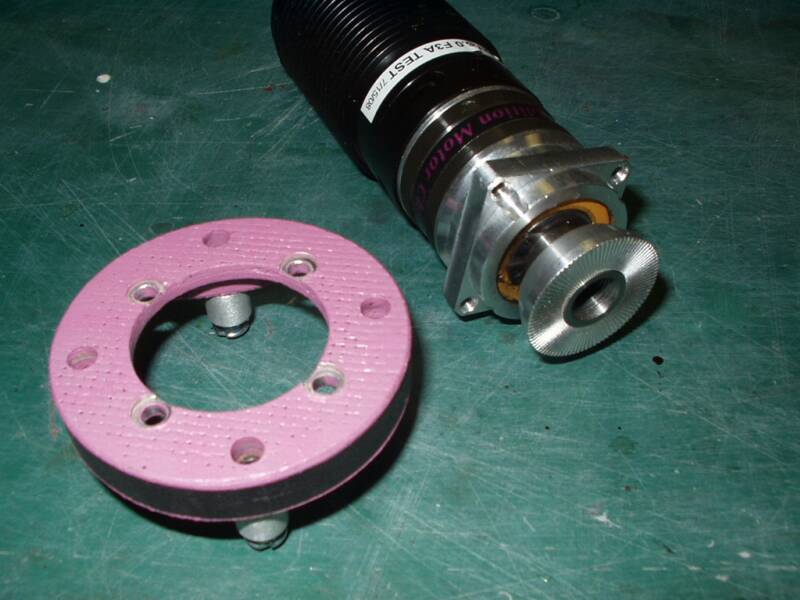
After getting the plane unpacked, I made and mounted the Hacker firewall. The first thing I do is trace out some blue foam cut it out and use it as the template. You will need to cut a little at a time so you don't get it to small. after you get the template where you need it, trace it out on to what you will be using for the firewall. (I used the 1/8in carbon sandwich panel from CST.) when I get the carbon where I want I will tack it in place with some CA to hold it in place. I then take the motor and get it set then mount it. after all adjustments are made I will glue the firewall in using BVM aeropoxy. Next the Nue motor, Castle HV 85, and Hyde mount with tail ring are installed.


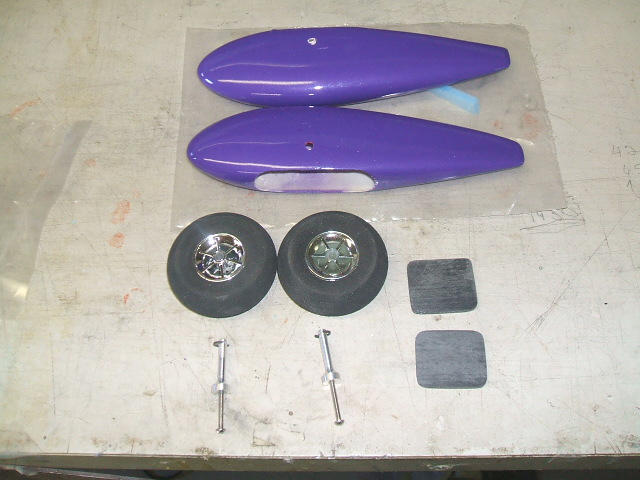
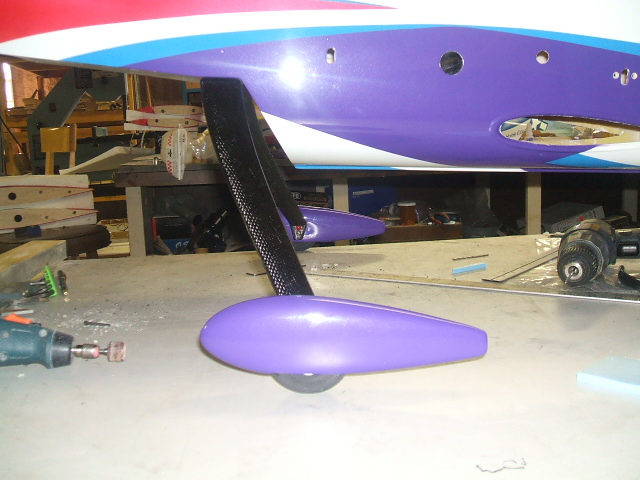
Next I mounted the landing gear and wheel pants. I will start with gluing in the support plates in the wheel pants, this will help keep the wheel paint in place and I also use a small screw to mount the wheelpant. I then take and drill the holes in the pants where the axel will go through. Before putting the wheel on I will set the plane at 0 deg's and put the pants on and drill them for the mounting screw. After that is done I then put the wheel on and put the screw in that holds the pant on. The reason for not putting the wheel on is the pant will set on the wheel opening that is level

Here are the weights on my pass-port.
Pass-Port Fuse with canopy and chin cowl 1190 grams
stab 92 grams ea.
wing 396 grams ea.
rudder 56 grams
set of wheel paints 35 grams
total weight less gear and tubes 2257 grams
I check the weight on everything else and the total weight is 2526 grams.
The weight on my Pass-Port is 10lbs 14oz with FlightPower Evo 5350 5sp X 2.
Just remember I am running the Hyde mount and tail ring, one extra servo and a 48in lead for the rudder. So I believe that running the standard rudder and the motor hard mounted will not be a problem
 | ||||||


Todd with 2009 Pass-Port by CA Models
Futaba 14MZ 2.4 GHz.
Futaba R 6008 HS Reciver
Futaba 9151 Aileron
Futaba 9650 2-Elevator
Futaba 9156 Rudder
Smart-Fly 6 Volt Pattern Reg.
Motor NEU-F3A-1
Castle ICE 80 HV
F3A Unlimited 4900
Motor NEU-F3A-1
Castle HV85
F3A Unlimited 4900
More information on the Pass-Port build page