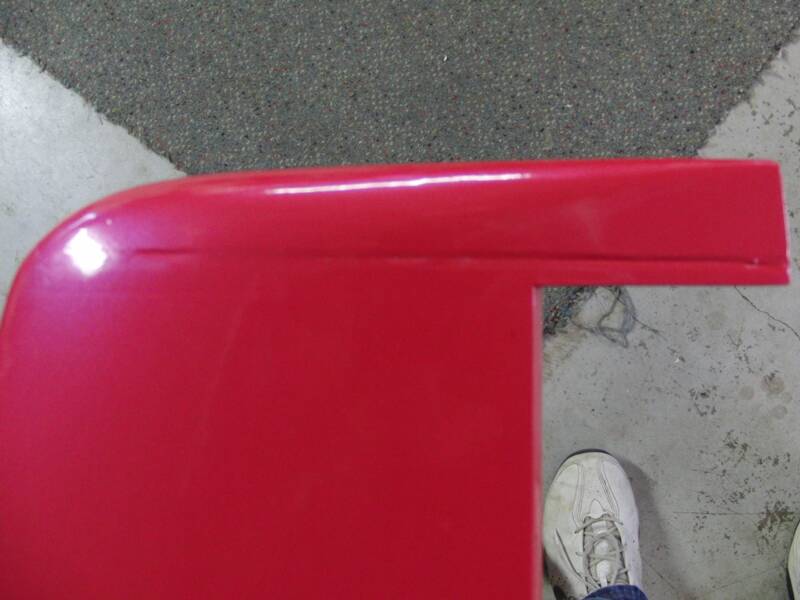
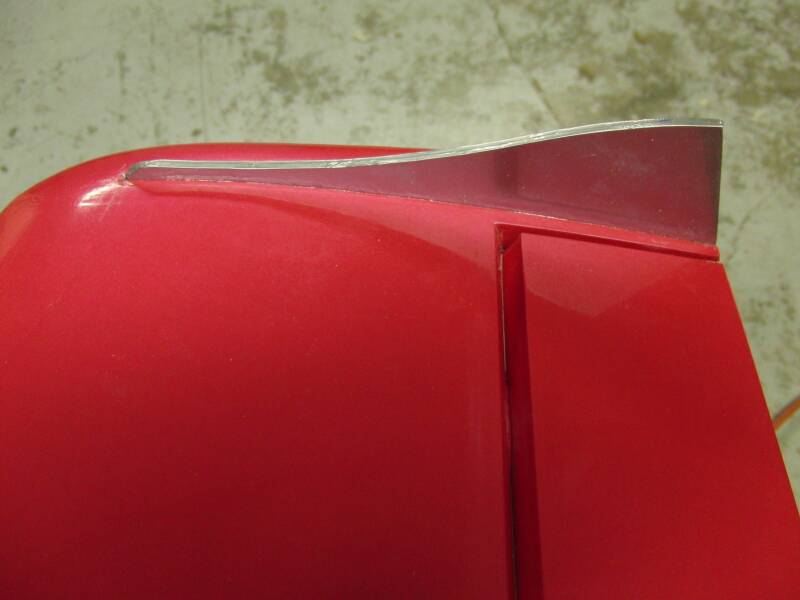
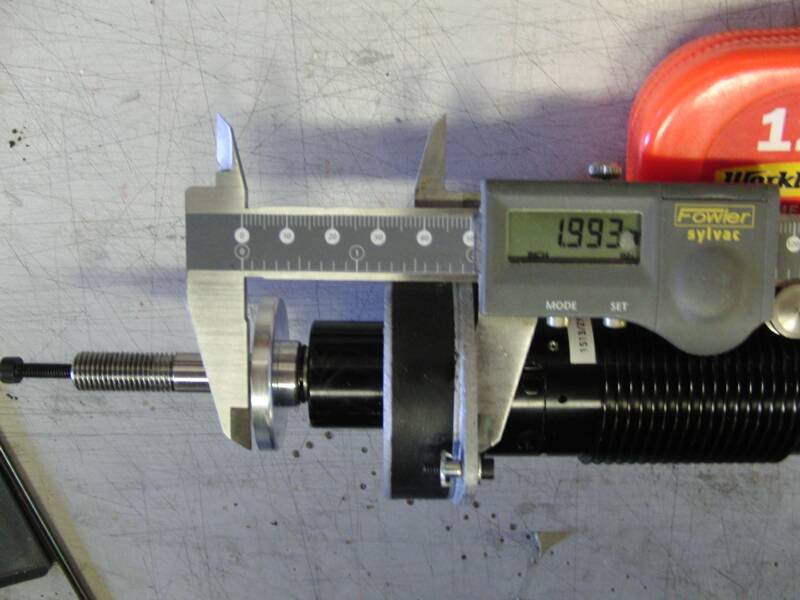
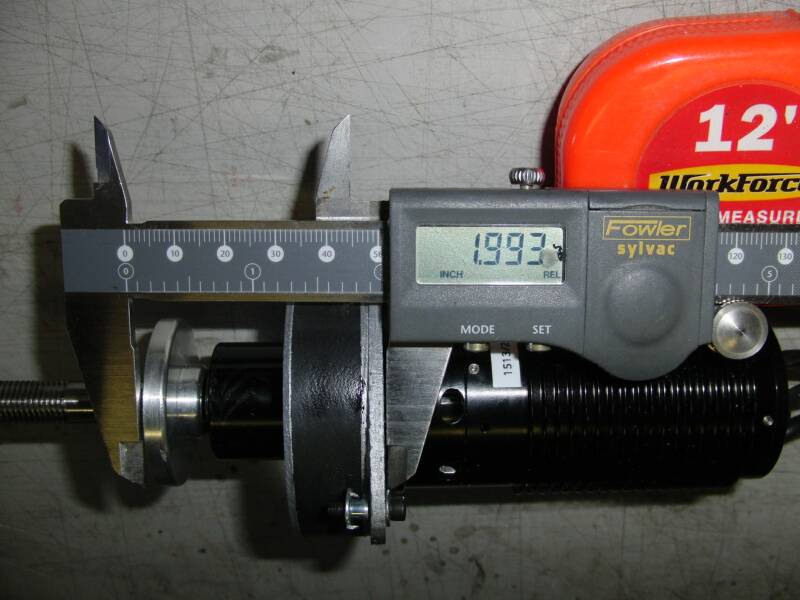
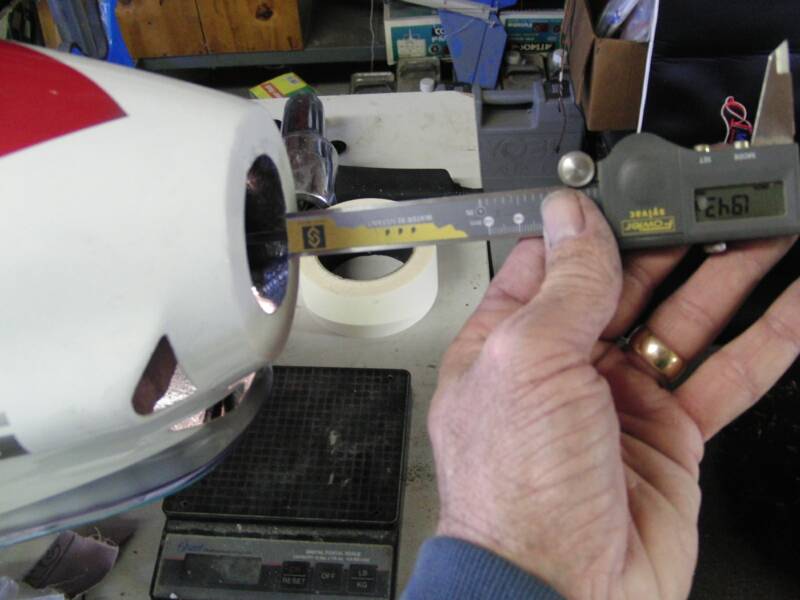
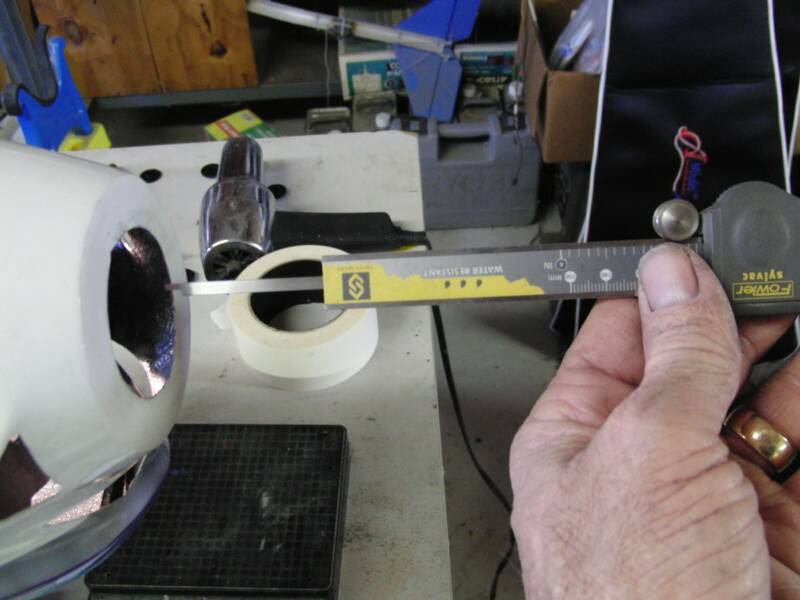
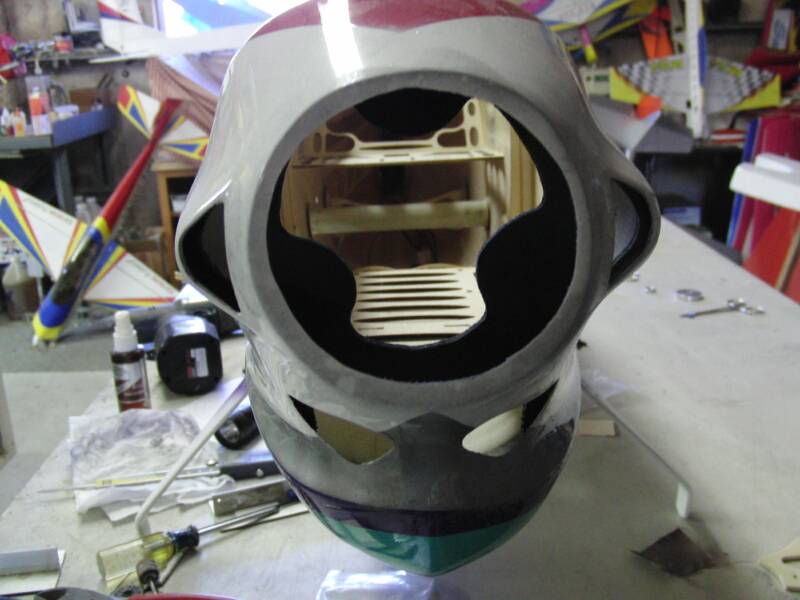
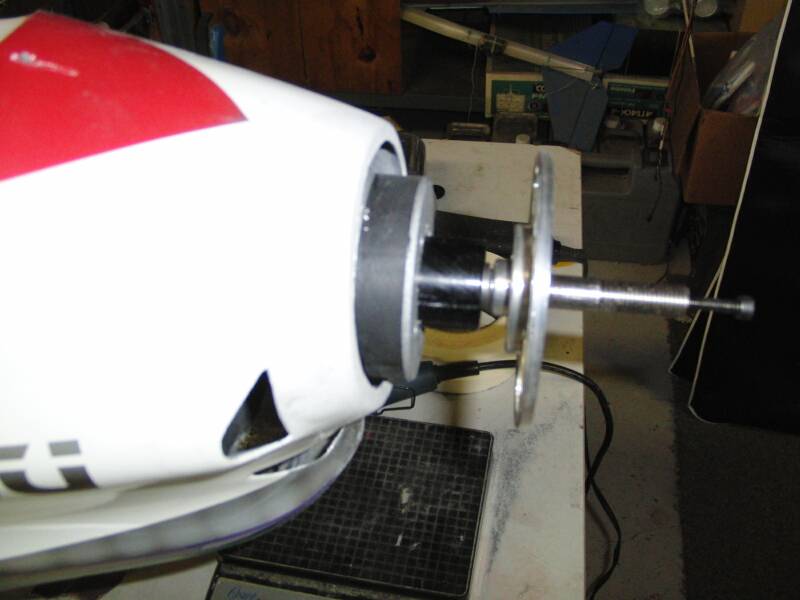
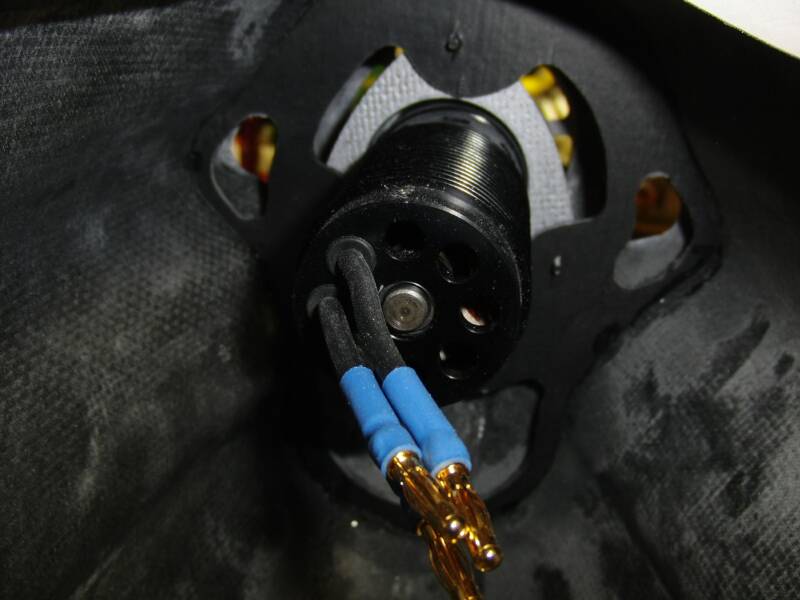
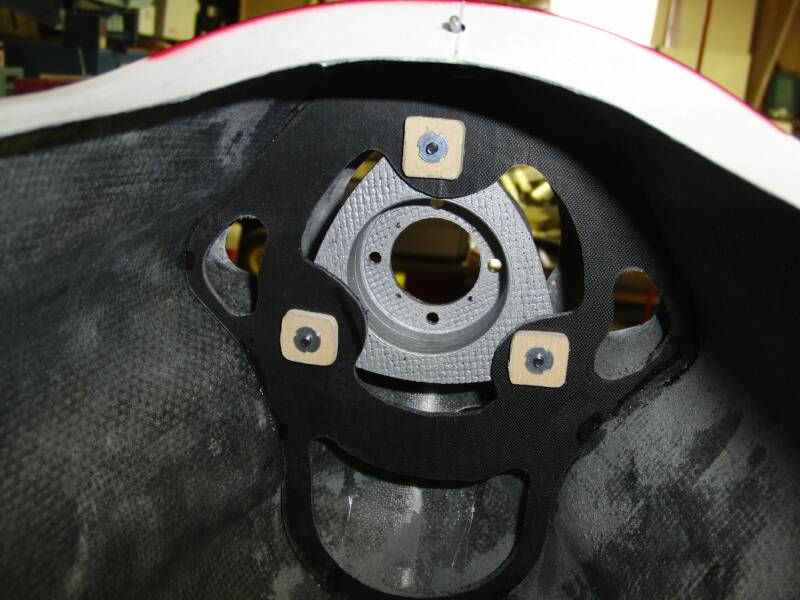
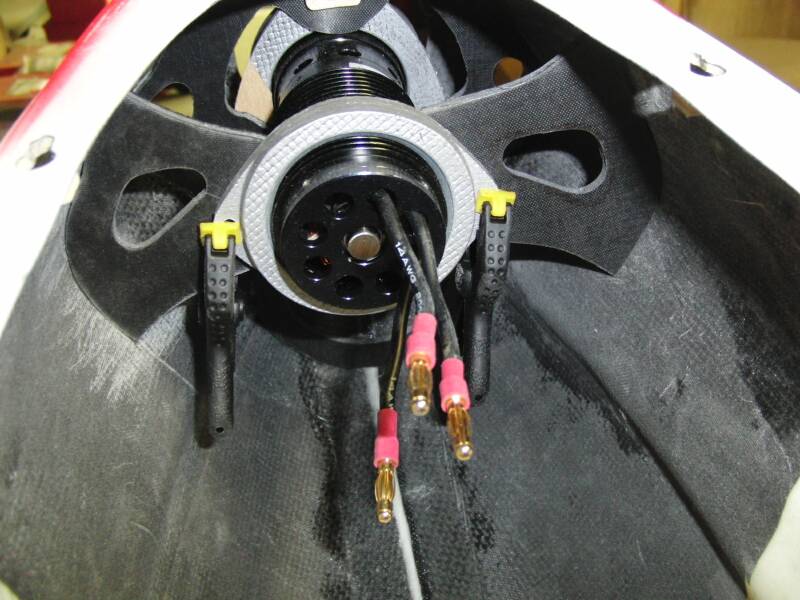
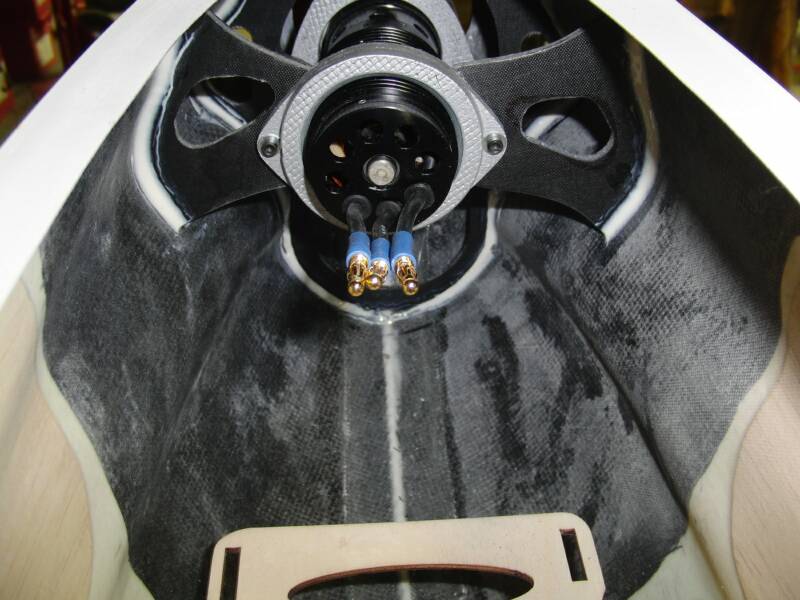
Motor is next now that I have the Hyde mounts. To make sure I have the firewall in the right place I will take the motor and place it in the mount. I then take and measure from the thrust washer to the back of the mount with a set of calipers, this will give me the depth of the fire wall andI use the calipers to set the firewall to the nose ring. ( this has been the easiest way for me I use to mount everything to the firewall and try to set in place). Since the Hyde mount goes through the front of the plane you will need to cut out the nose ring of the plane to get the mount in. After I have the firewall where I want it I will use Foam Safe CA and tack it in place.( this way I can remove and start over if needed) Then I will put the motor and mount in the plane use the spinner back plate to line everything up and drill the holes. After the motor is mounted I will add the tail ring and support then glue into place using Hysol epoxie.
Here is what I used for the Firewall and tail mounts For a PDF of the firewall Click Here
CST Composites
Carbon Fiber Sandwich Panel
0.118" Rohacell Core
0.010" Thick Carbon Fiber


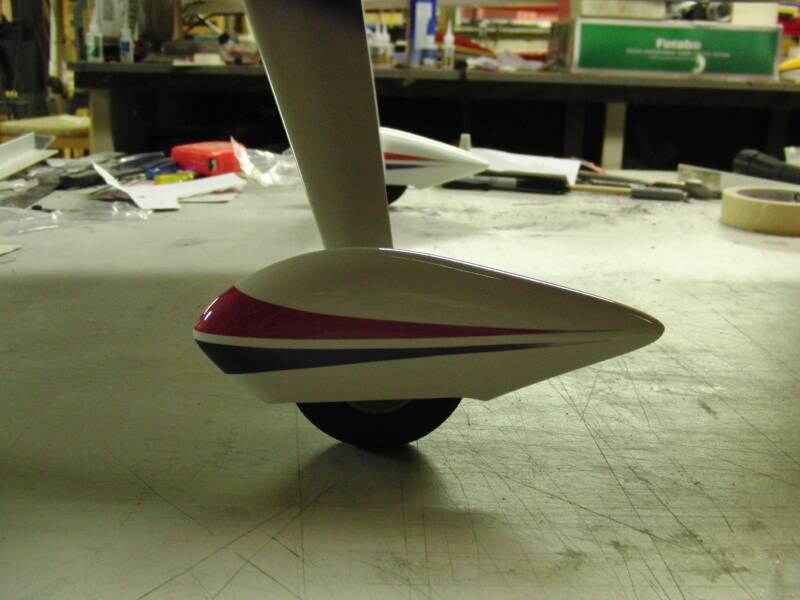
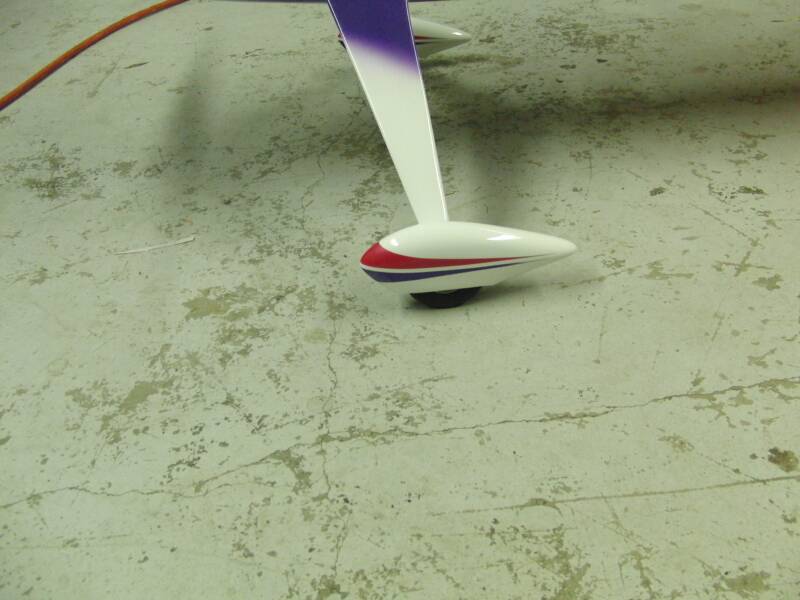
Next set at this time will be the wheel paints. I under stand that there are many ways of mount the paints but this is very easy
and holds up great. First I will drill a 4-40 clearance hole in the paints. I will use a T shaped 1/8 light play and glue into place using CA and some clamps. Next drill the same size hole in the gear and a clearance hole for a servo mounting screw 1/4 in straight up from the axle hole. Next I will mount the both paints using the axle and axle screw only. Then I will set the plane on the gear and paints on a flat surface and set the plane to 0. Once the plane is at 0 I will drill the hole into the paints for the servo screw. Then I put the servo screw in and tighten. Flip the plane back over and remove the axles only, then cut the servo screw
( so it does not hit the wheel) then put CA on the screw then around where the axle goes. This will strength the wood so the axle will not collapse the wood. Then put the wheel on the axle and use some loctite and install the axle and wheel.
Axles NMPAXLEFGL from Central Hobbies
Servo screws CHMSMS100 from Central Hobbies


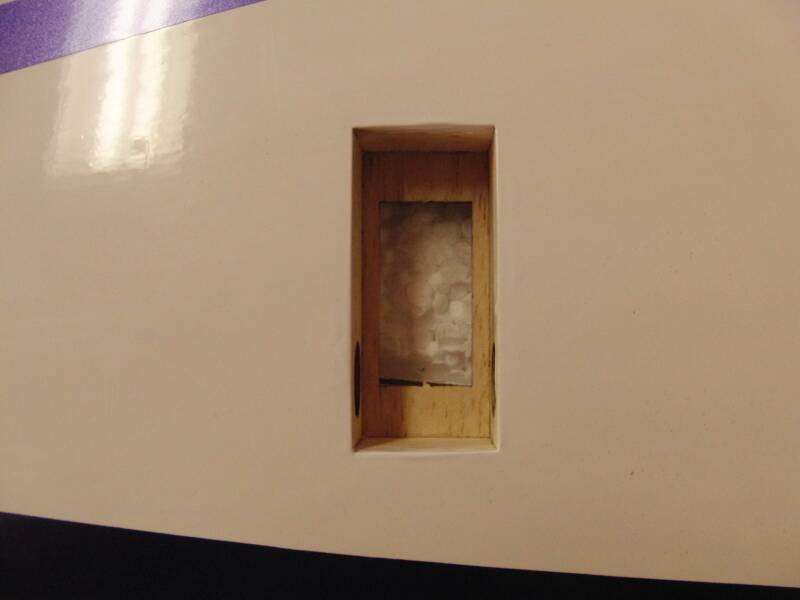
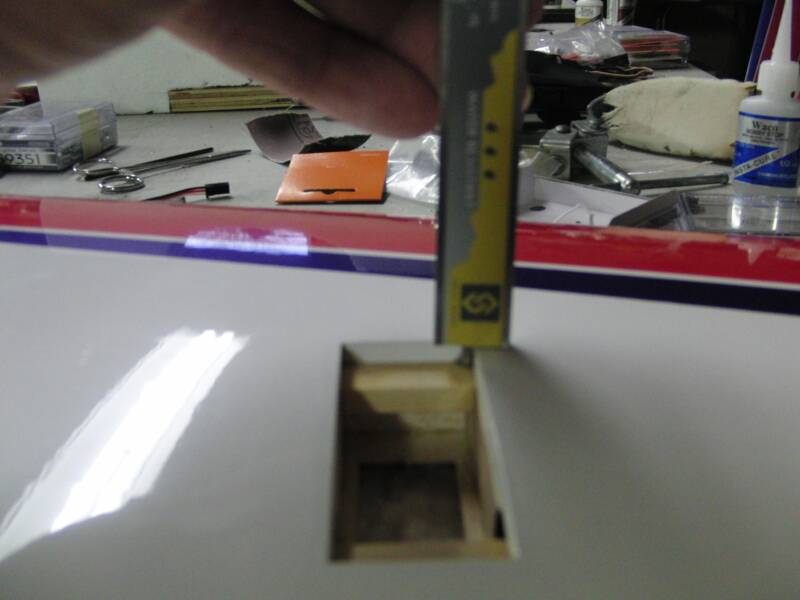
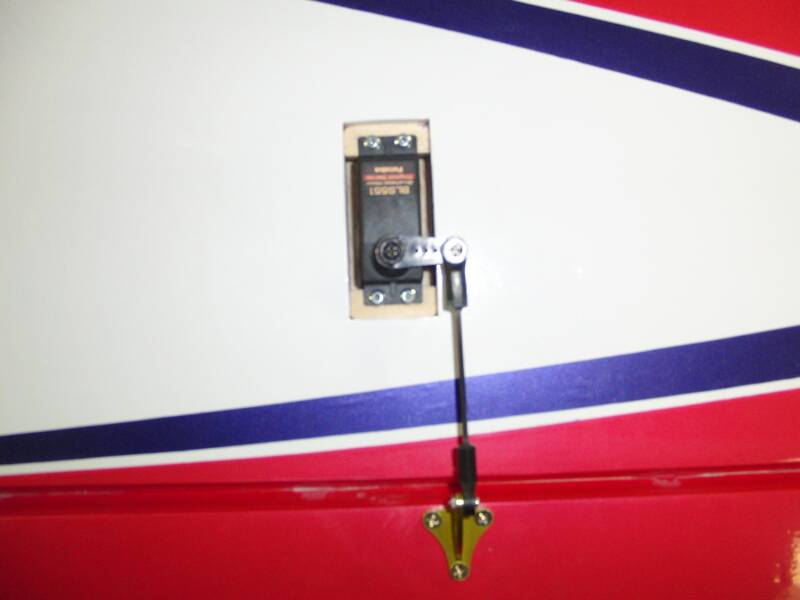
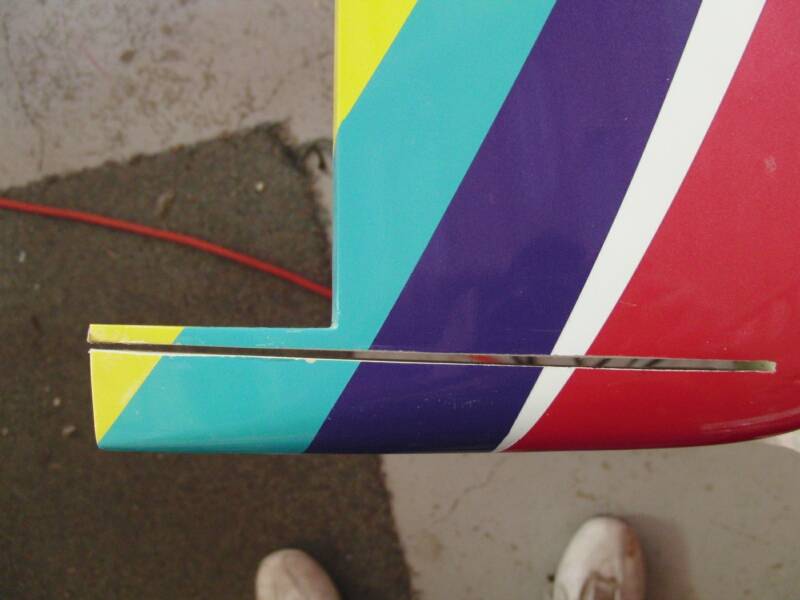
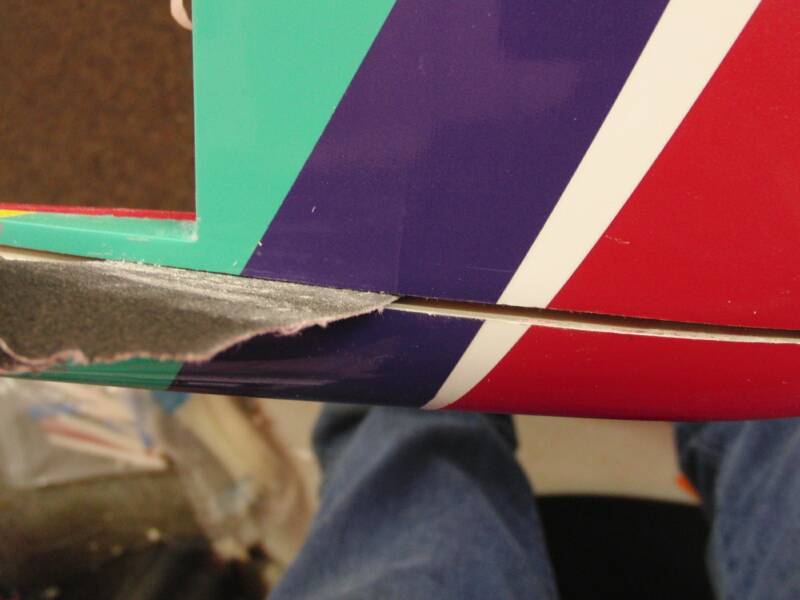
Mounting the aileron servos is next. The wings come covered so the servo hole needs to be cut out. I always use a new blade and cut the hole out and leave 3/16 inch all the way around and iron the excess into the servo hole. I then cut the rails (using 1/4 x 3/8 spruce) and pre fit all rails. Then I will use the calipers to set the depth of the rails. Once the rails are glued in you can mount the servo. Since all of the servo leads are always too short you will need to use an extension. I always use heat shrink to make sure that they don't come unplugged. This plane has SFG's so the slots are pre cut but the covering and or paint will need to be removed. On the painted wing you can use some sand paper to clean the edges. Then just slide the SFG into place and CA.